Easy Halloween Treat Recipes Spooky Fun
40 Easy Halloween Treat Recipes (Spooky & Fun): Halloween is all about conjuring up some spooky fun, and that absolutely includes the treats! Whether you’re hosting a haunted house party, packing school lunches with a festive twist, or just want to get into the spirit, these 40 easy recipes are your ticket to a ghoulishly good time. We’re talking about treats that are as fun to make as they are to eat, using simple ingredients and straightforward methods so everyone, from seasoned bakers to kitchen novices, can join in on the Halloween magic. Let’s get started with one of our favorites: simple but effective Ghostly Meringues. They look eerily charming and are delightfully crisp. Ghostly Meringues: This recipe is wonderfully simple and uses just a few ingredients. The key is patient baking to get those perfect, crisp shells. Ingredients: 4 large egg whites, at room temperature; 1 cup (200g) granulated sugar; 1/2 teaspoon cream of tartar; Black edible food coloring pen or melted dark chocolate. Cooking Instructions: Prepare Your Baking Sheets: Preheat your oven to 225°F (107°C). Line two baking sheets with parchment paper. This is important because meringues can be sticky, and parchment paper makes for easy cleanup and removal. You can also draw ghost shapes on the parchment paper with a pencil as a guide, just flip the paper over before you start piping. Whip the Egg Whites: In a clean, dry bowl of a stand mixer (or using a hand mixer), whip the egg whites and cream of tartar on medium speed until soft peaks form. Gradually add the sugar, about a tablespoon at a time, while continuing to whip on high speed. Keep whipping until the meringue is stiff, glossy, and the sugar is completely dissolved. Rub a little between your fingers; you shouldn’t feel any grit. Pipe Your Ghosts: Spoon the meringue into a piping bag fitted with a large round tip (or just snip the corner off a plastic bag). Pipe ghost shapes onto the prepared baking sheets, about 1-2 inches wide. Leave a little space between them. For the eyes and mouth, use the black edible food coloring pen to draw simple dots and lines once the meringues are piped, or pipe them on with a tiny bit of melted dark chocolate before baking if you prefer. Bake Slowly: Place the baking sheets in the preheated oven. Bake for 1 to 1.5 hours, or until the meringues are dry to the touch and lift easily off the parchment paper. Turn off the oven, prop the door open slightly with a wooden spoon, and let the meringues cool completely inside the oven. This prevents cracking. Storage: Once completely cooled, store meringues in an airtight container at room temperature for up to a week. Humidity is the enemy of crisp meringues. These are just the first of our many delightful Halloween treats!
40 Easy Halloween Treat Recipes (Spooky & Fun)
Halloween is all about conjuring up some spooky fun, and that absolutely includes the treats! Whether you’re hosting a haunted house party, packing school lunches with a festive twist, or just want to get into the spirit, these 40 easy recipes are your ticket to a ghoulishly good time. We’re talking about treats that are as fun to make as they are to eat, using simple ingredients and straightforward methods so everyone, from seasoned bakers to kitchen novices, can join in on the Halloween magic.
Let’s get started with one of our favorites: simple but effective Ghostly Meringues. They look eerily charming and are delightfully crisp.
Ghostly Meringues
This recipe is wonderfully simple and uses just a few ingredients. The key is patient baking to get those perfect, crisp shells.
Ingredients:
- 4 large egg whites, at room temperature
- 1 cup (200g) granulated sugar
- 1/2 teaspoon cream of tartar
- Black edible food coloring pen or melted dark chocolate
Cooking Instructions:
- Prepare Your Baking Sheets: Preheat your oven to 225°F (107°C). Line two baking sheets with parchment paper. This is important because meringues can be sticky, and parchment paper makes for easy cleanup and removal. You can also draw ghost shapes on the parchment paper with a pencil as a guide, just flip the paper over before you start piping.
- Whip the Egg Whites: In a clean, dry bowl of a stand mixer (or using a hand mixer), whip the egg whites and cream of tartar on medium speed until soft peaks form. Soft peaks mean that when you lift the beaters, the egg whites will form gentle, droopy peaks. The cream of tartar helps to stabilize the egg whites, making them less likely to collapse.
- Gradually Add Sugar: With the mixer running on medium-high speed, gradually add the granulated sugar, about a tablespoon at a time. Make sure each addition of sugar is mostly dissolved before adding more. Continue whipping until stiff, glossy peaks form. This means when you lift the beaters, the peaks stand straight up without wilting. This process usually takes about 8-10 minutes. The meringue should feel smooth and not gritty between your fingers when the sugar is dissolved.
- Pipe Your Ghosts: Transfer the meringue mixture into a piping bag fitted with a large round tip (or a star tip for a bit of texture). Pipe ghost shapes onto the prepared baking sheets. Start by piping a swirl for the body, then a smaller swirl on top for the head. Leave a little space between each ghost as they might expand slightly. For very simple ghosts, you can also just spoon dollops of meringue.
- Bake and Cool: Bake for 1 hour and 15 minutes to 1 hour and 30 minutes, or until the meringues are dry to the touch and lift easily from the parchment paper. They should sound hollow when tapped. Turn off the oven, prop the door open slightly with a wooden spoon, and let the meringues cool completely inside the oven. This slow cooling prevents cracking. Once completely cool, use a black edible food coloring pen or a small amount of melted dark chocolate to draw two eyes and a mouth on each ghost. Store in an airtight container at room temperature for up to a week.
From these ethereal ghosts, let’s move to something a bit more grounded and gooey, perfect for little hands.
Spider Web Brownies
These are always a hit because who doesn’t love brownies? The spider web effect is surprisingly simple to achieve.
Ingredients:
- 1 batch of your favorite brownie batter (homemade or box mix)
- 1 cup (170g) white chocolate chips
- 2 tablespoons vegetable oil or shortening
- Black food coloring gel
Cooking Instructions:
- Bake the Brownies: Prepare your favorite brownie batter according to the package or recipe instructions. Pour the batter into a greased and floured 9×13 inch baking pan. Bake according to the recipe’s directions until a toothpick inserted into the center comes out with moist crumbs attached, not wet batter. Let the brownies cool completely in the pan on a wire rack. It’s crucial that they are fully cooled before decorating, otherwise, the white chocolate will melt too quickly.
- Melt the White Chocolate: In a microwave-safe bowl, combine the white chocolate chips and the vegetable oil or shortening. Microwave in 30-second intervals, stirring well after each interval, until the chocolate is smooth and completely melted. Be careful not to overheat the white chocolate, as it can seize up and become clumpy. If you prefer, you can also melt this mixture gently in a double boiler over simmering water.
- Color the “Web” Frosting: Once the white chocolate is melted and smooth, divide it into two small bowls. Leave one bowl plain white. In the other bowl, add a few drops of black food coloring gel. Stir until you achieve a deep black color. Food coloring gels are best here as they don’t add extra liquid that could affect the chocolate’s texture. You’ll want to work relatively quickly from this point on, as melted chocolate begins to set.
- Create the Spider Webs: Using an offset spatula or a butter knife, spread the plain white melted chocolate evenly over the cooled brownies. This will be your base. Immediately spoon the black melted chocolate into a piping bag with a small round tip, or a zip-top bag with a tiny corner snipped off. Pipe concentric circles of black chocolate over the white chocolate, starting from the center of the pan and working your way out. Don’t worry about perfection here; wobbly circles are fine.
- Pull the Web Design: Take a toothpick or a skewer and gently drag it from the center of the pan outwards through the black circles, creating the spider web effect. Drag the toothpick outwards to create the radial lines of the web. Wipe the toothpick clean with a paper towel between each drag to avoid muddying the colors. Once you’ve completed your webs, let the brownies set completely at room temperature or briefly in the refrigerator for about 15-20 minutes. Once set, cut into squares.
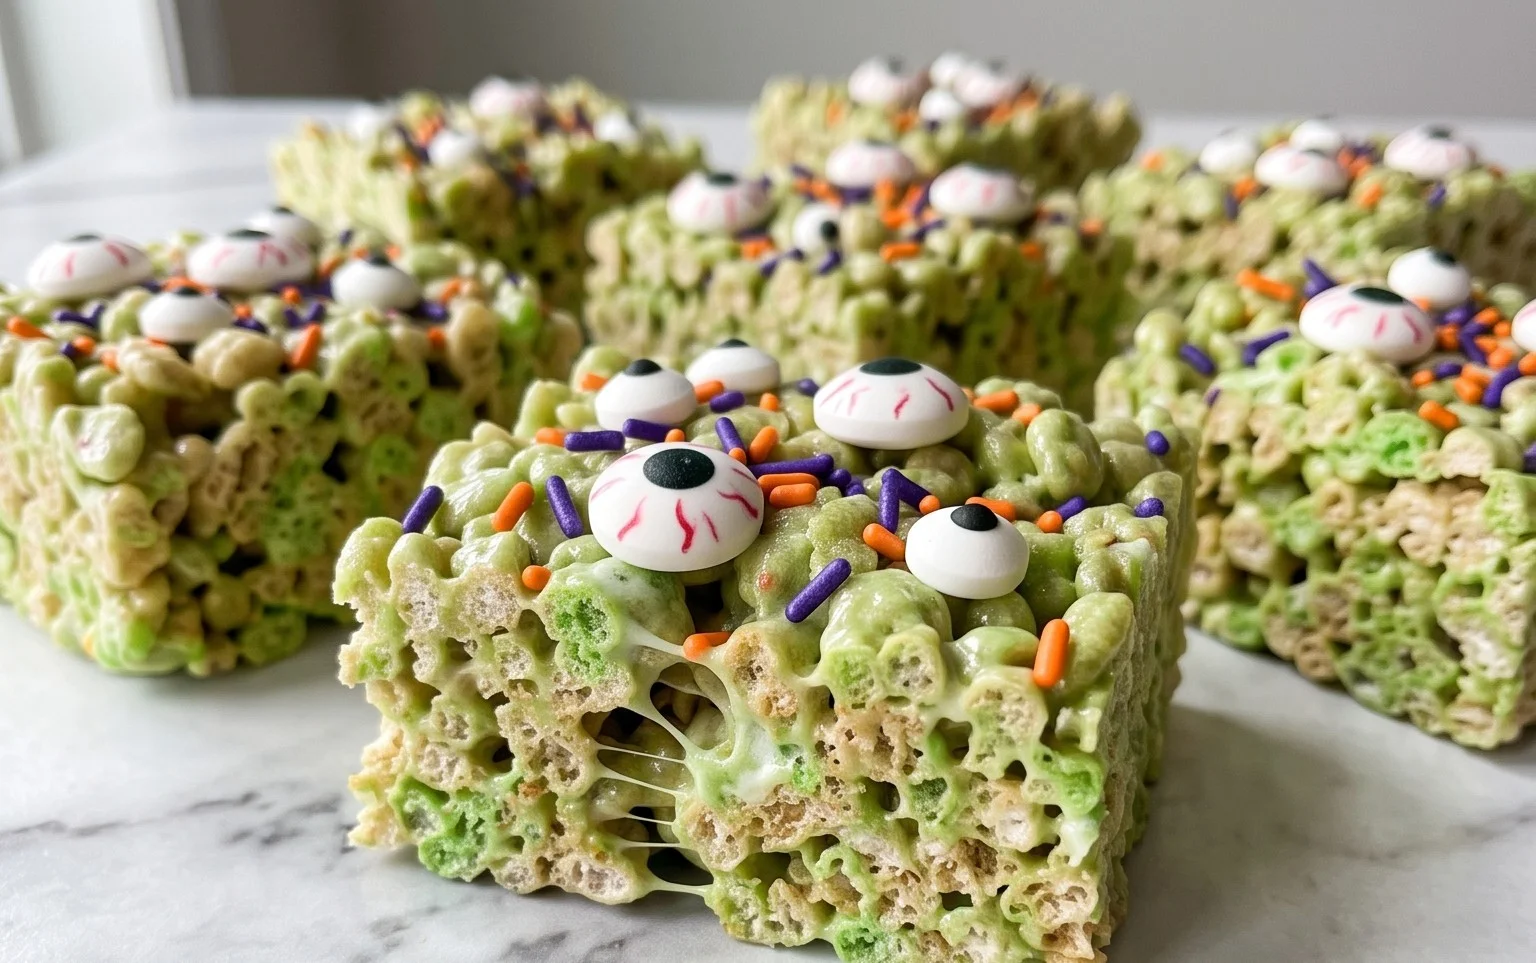
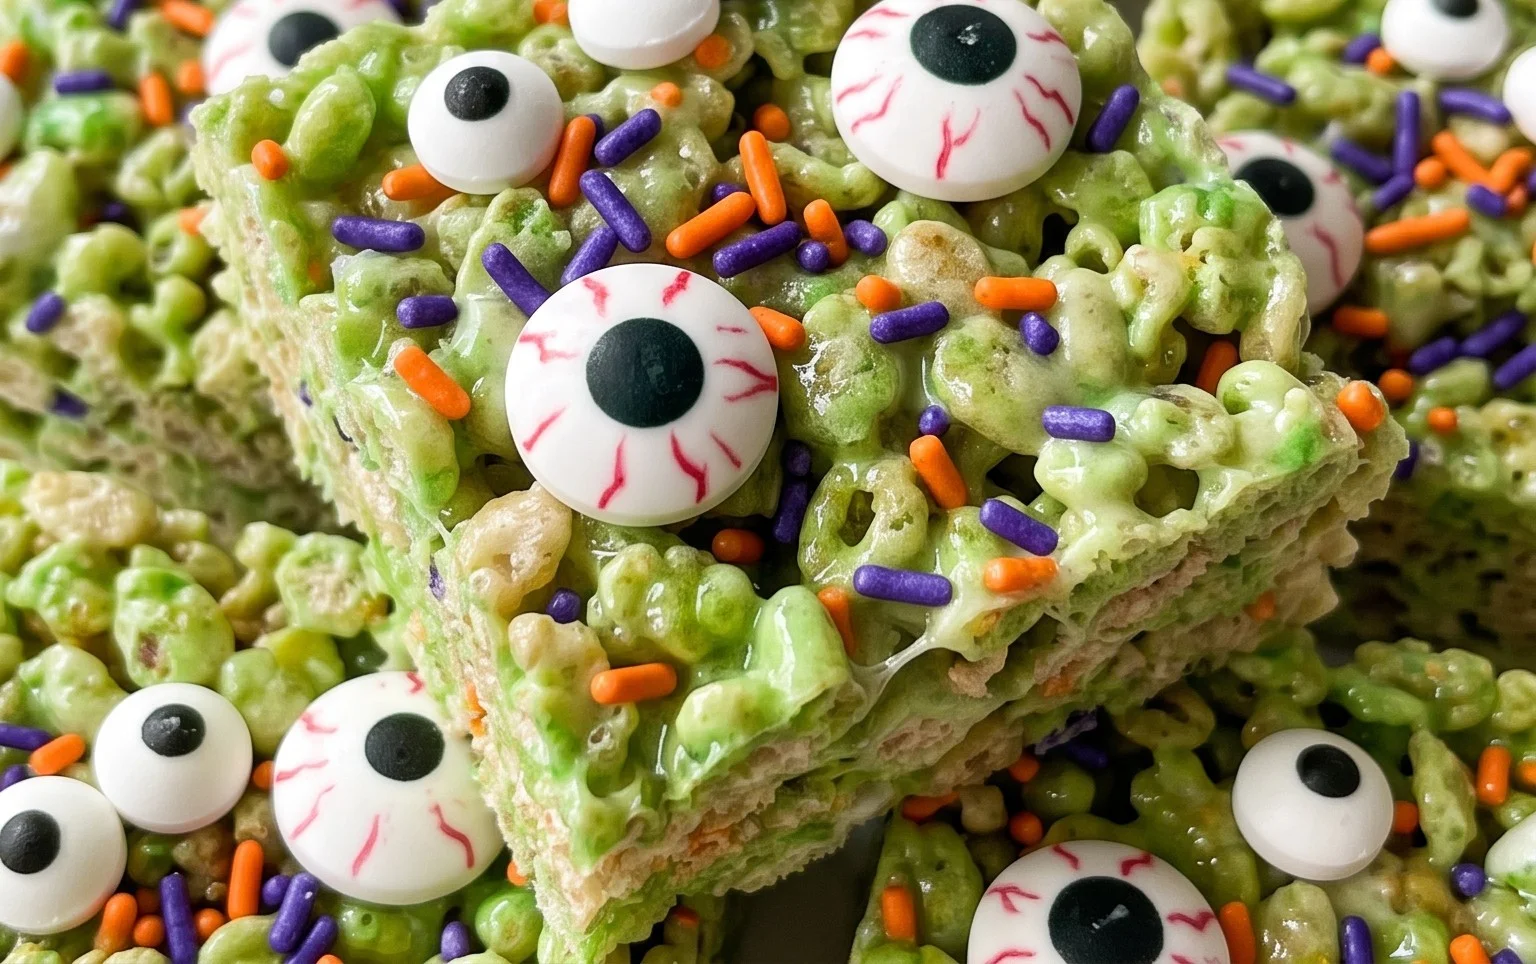
These recipes are just the beginning of the Halloween fun. You can also find inspiration for Mummy Hot Dogs, Graveyard Taco Dip, Monster Cookies, and so much more. The beauty of Halloween treats is that a little bit of creativity goes a long way. Think about adding candy eyes, sprinkles in spooky colors, or using cookie cutters to create themed shapes. Don’t be afraid to get messy and have fun with it! These simple, delicious, and festive recipes are sure to make your Halloween celebration spooktacular.
Conclusion:
These 40 Easy Halloween Treat Recipes (Spooky & Fun) are a fantastic way to bring some extra magic to your Halloween celebrations. From the ethereal Ghostly Meringues that melt in your mouth to more substantial, spooky delights, there’s something here for everyone. They’re designed to be simple, so you can focus on the fun of decorating and sharing. Don’t be afraid to get creative with your own twists – maybe add a sprinkle of edible glitter to the meringues or experiment with different colors for the spiderweb brownies. These treats are perfect for parties, school events, or just a cozy night in. They make for great gifts, too! For serving, consider a Halloween-themed dessert table where guests can pick and choose their favorites. You can also package smaller treats in cellophane bags tied with festive ribbon for easy party favors. Kids especially love helping to decorate, so make it a family activity!
Frequently Asked Questions
Can I make these Halloween treats ahead of time?
Most of these recipes can be made a day or two in advance. Store them in airtight containers at room temperature unless the recipe specifies otherwise (like certain cookies that might need refrigeration to maintain crispness). Meringues, for example, are best made closer to when you plan to serve them if your climate is very humid. Always check the individual recipe notes for best storage practices.
What if I don’t have all the special ingredients?
The beauty of these easy Halloween recipes is their adaptability. For instance, if a recipe calls for black food coloring and you only have gel colors, you can mix them to achieve a dark shade. If a specific candy is unavailable, think about similar textures or flavors. Many recipes allow for simple substitutions; the goal is festive fun, not perfection. For the Ghostly Meringues, you can use black icing or even small pieces of black licorice for the eyes if edible pens aren’t handy.
Are these recipes good for beginner bakers?
Absolutely! The entire collection is curated with ease in mind. Recipes like the Ghostly Meringues, simple no-bake treats, and basic cookie decorations are perfect starting points. We’ve focused on clear instructions and common ingredients so that anyone can achieve delicious and spooktacular results. Don’t be intimidated; have fun with the process!
40 Easy Halloween Treat Recipes (Spooky & Fun)
A collection of 40 easy and fun Halloween treat recipes perfect for parties and trick-or-treaters. Includes spooky and creative ideas for all skill levels.
Ingredients
-
2 cups all-purpose flour
-
1 teaspoon baking soda
-
1/2 teaspoon salt
-
1 cup (2 sticks) unsalted butter, softened
-
3/4 cup granulated sugar
-
3/4 cup packed light brown sugar
-
2 large eggs
-
1 teaspoon vanilla extract
-
1/2 cup semi-sweet chocolate chips
-
1/4 cup milk
Instructions
-
Step 1
Preheat oven to 375 degrees F (190 degrees C). Line baking sheets with parchment paper. -
Step 2
In a medium bowl, whisk together the flour, baking soda, and salt. -
Step 3
In a large bowl, cream together the softened butter, granulated sugar, and brown sugar until light and fluffy. -
Step 4
Beat in the eggs one at a time, then stir in the vanilla extract. -
Step 5
Gradually add the dry ingredients to the wet ingredients, mixing until just combined. -
Step 6
Stir in the semi-sweet chocolate chips. -
Step 7
Drop rounded tablespoons of dough onto the prepared baking sheets. -
Step 8
Bake for 10-12 minutes, or until the edges are golden brown. -
Step 9
Let the cookies cool on the baking sheets for a few minutes before transferring them to wire racks to cool completely. -
Step 10
Decorate with Halloween-themed frosting or sprinkles as desired.
Important Information
Nutrition Facts (Per Serving)
It is important to consider this information as approximate and not to use it as definitive health advice.
Allergy Information
Please check ingredients for potential allergens and consult a health professional if in doubt.